

The next step is to add a particle system which will add dynamic movement and randomness to my image. I added the particle emitter object and changed its position. I fiddled with some of the parameters of the emitter and also added the sphere so the emitter spits out random spheres which rotates and travels in any direction. I then added some collision physics to the tube and the square. Now unfortunately gravity is having an effect on the sphere so they just fall to the floor, so I just turned gravity off.

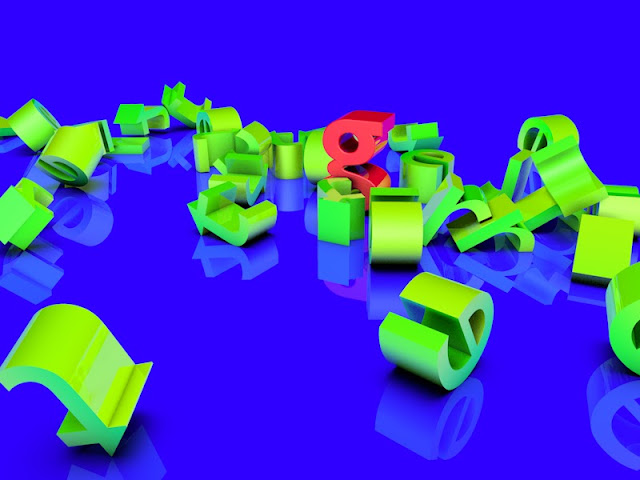
Then it was time to try something new, so I created a new file and added a floor and background with a compositing tag. I then added a letter with the MoText tool. I added some fillet caps for smooth edges and adjusted the font and size. I created some ruminant and reflective gradient materials. I added and experimented with colours, reflections and gradients until I came to a nice looking combo between the background and the letter. I then drew a phrase and added a cloning object. I will be dropping the letters from this sentence onto the one letter I created earlier. I added some dynamics to the object like in the first exercise.
I then decided to also render this sequence as a QuickTime film.
I then decided to also render this sequence as a QuickTime film.
No comments:
Post a Comment